Print dimensions, tested in place
Choose a QR print size your guests can scan
Thirty millimetres on a place card and thirty millimetres on a large entrance board are not the same design decision. Wedding photo QR code size depends on how close a guest can comfortably get, how sharply the pattern prints and what the light does to its surface. Use dimensions as starting points for physical tests, not as a promise that a particular square will work on every phone.
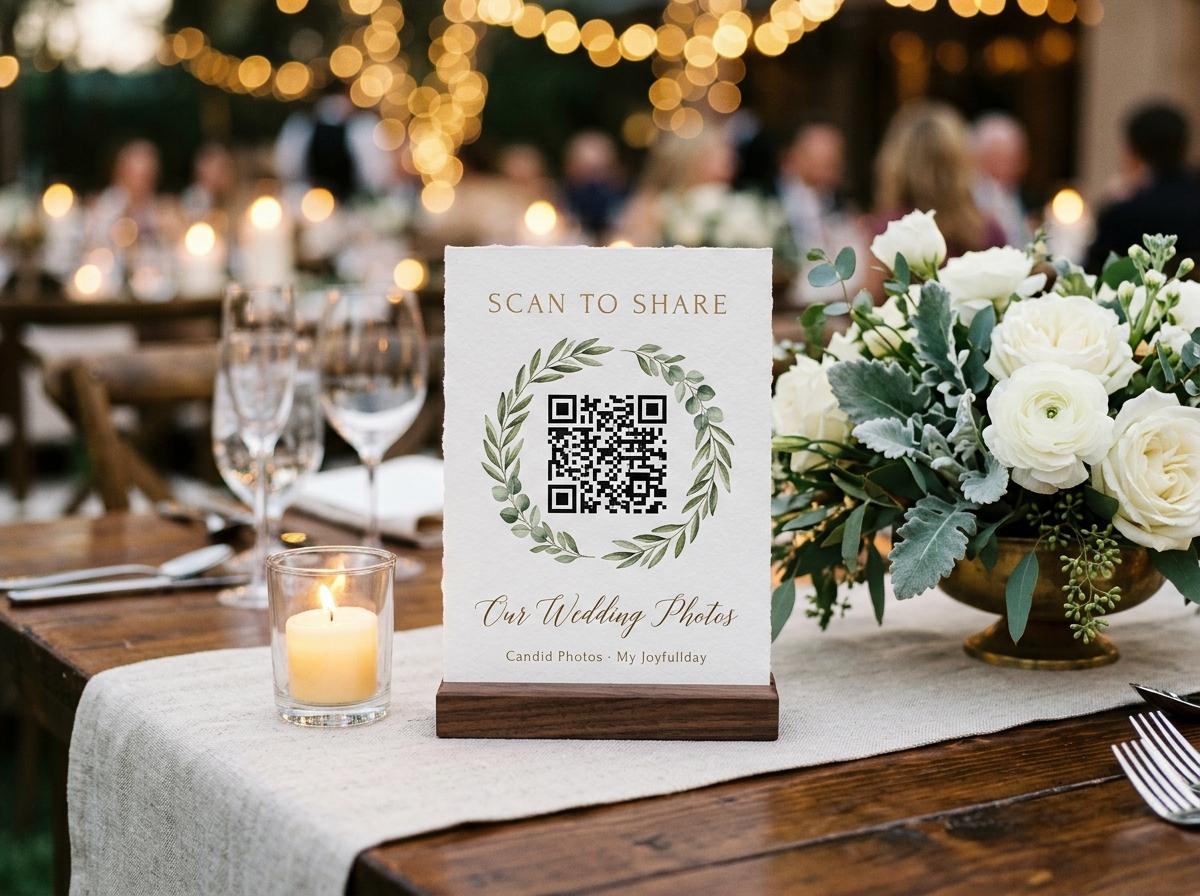
Table stands, printed codes and the scan that opens an upload page.
Measure the code, not the whole invitation
A printer needs to know which square you are measuring. The visible dark pattern, the image including its white surround and the complete sign are three different dimensions. If you ask for a forty-millimetre QR code but a designer interprets that as a forty-millimetre decorative frame, the working pattern may be much smaller than you expected. Mark the intended image width on the proof and keep its proportions square. Do not stretch one side to fill a narrow gap in the layout.
For the trial sizes in this guide, measure the complete QR image including its existing white surround, then leave additional clear space around that image in the artwork. That makes the experiments repeatable without pretending that all generated QR images have identical borders. Use the same source image for each candidate. Changing the image, the paper and the size together makes it difficult to learn which change actually improved the scan.
Use a trial ladder rather than a minimum rule
Suggested first proofs, not QR guarantees
- A card held in the hand
- Try complete image widths of 30, 40 and 50 mm on a practice sheet. Scan each from a comfortable reading position on more than one phone. If the smallest only works with careful alignment, keep a larger version rather than treating one successful scan as a pass.
- A stand read from a chair
- Try 40, 50 and 60 mm with the sign assembled. Move glasses and flowers into their real places before judging the result. A larger image can help, but it cannot compensate for a code that faces away from half the table.
- A board approached on foot
- Trial an 80 or 100 mm image and test where guests can safely stop. If you want people to scan from farther away, make additional larger proofs. Do not assume that an entrance board's large overall dimensions make a small code readable at a distance.
The test chooses the final dimension
These measurements are design suggestions, not certified minimum sizes, scan-distance ratios or guarantees. Cameras, code density, print quality, viewing angles and lighting vary. Keep the smallest version that works comfortably across your realistic tests, with room for less ideal conditions.
Protect a plain border around the pattern
The camera needs to distinguish the QR pattern from everything beside it. The plain surround is commonly called the quiet zone. Keep the image's existing light border intact, and leave extra empty space outside it instead of running text or artwork right up to the edge. A monogram, fine rule or flower stem may look separate to you while becoming part of a confusing shape to the camera. This is an especially avoidable problem on tightly packed invitation inserts.
- Keep every corner of the original image visible. Do not crop the white surround, cover part of the code with a name or put the image inside a decorative frame that clips its corners.
- Check the final paper colour behind the image. A transparent treatment can let a printed pattern or texture show through light areas; an opaque plain backing keeps the code visually separate.
- Leave clearance between the QR image and the trim, fold, holder lip or mounting tape. Physical production can consume space that looks generous in an on-screen layout.
- Avoid placing a second QR code immediately beside the first. Give each destination its own clear label and enough separation that a guest can deliberately aim at the intended one.
Choose contrast before matching the palette
Dark marks on a plain light background are a sensible starting point because the camera has a clear difference to read. Pale sage on cream, metallic gold on ivory and a reversed light code on a dark photograph introduce additional variables. They may look coordinated with the flowers but should not be selected simply because the digital mock-up looks elegant. Keep the supplied QR image unchanged where possible and use your wedding colours in the surrounding heading, border or paper layout.
A useful first proof
- Use the original dark-on-light QR image, a plain background and a matte paper sample. Keep decorative detail outside the clear area. This gives you a straightforward baseline when you test size and distance.
- Place the code on a flat surface without a reflective cover. Once that version works, add the actual holder or protective finish and repeat the test so you can identify what the finish changes.
Changes that deserve another test
- Foil, glossy lamination, coloured acrylic and heavy paper texture can change the appearance under real light. A sample made by the final print process matters more than a home print of the same artwork.
- Fading the pattern, adding transparency, rounding decorative edges or placing a logo over the centre alters the source. Avoid these changes for practical wedding signage rather than relying on error correction to rescue them.
Keep a sharp source through the print handoff
A code that is large but blurry is not automatically easier to scan than a smaller sharp one. Start with the QR image supplied for your actual collection rather than a screenshot of the dashboard surrounded by controls. The dashboard offers a high-resolution 1200-pixel PNG download of the code. That is a source image, not a promise about every final print size or every printer. Preserve it through the design workflow and inspect the exported artwork before approving production.
Place the image proportionally
Set a physical image width in the artwork and keep height equal to width. Do not repeatedly shrink, enlarge and resave screenshots, because each extra image conversion can soften the small squares or introduce unwanted edges.
Inspect the final output
Open the file that will actually go to the printer, not only the editing canvas. Look closely for soft edges, missing parts or a changed border. Confirm that the printer is not stretching the page to a different shape.
Check one finished copy
Use a ruler to compare the printed image with your intended dimension. Scan it after any coating, mounting or trimming. Approval of a digital proof is not approval of a glossy board you have not yet tested.
Test distance without blocking the room
Pick a place where a guest can stop with a phone without standing in a doorway, leaning across dinner or stepping into a service route. Measure from that likely phone position to the sign. For a table proof, you might try roughly 30, 50 and 70 centimetres; for an entrance board, you might begin at half a metre and then a metre. These are test positions, not promised scan ranges. Move closer or enlarge the image according to what happens.
- Straight on
- Begin with the camera facing the sign squarely. This establishes whether the image can be recognised in an easy position. If that fails, solve source quality, focus, lighting or print problems before testing the more awkward angles.
- From a seated angle
- Try the position a guest actually occupies, including chairs near the edge of a long table. A tilted tent or tall centrepiece may create a problem that a bigger code alone will not fix.
- With space around the guest
- Ask a second person to walk past while the tester scans. If the only workable stance blocks everyone else, relocate the sign or add a closer second opportunity rather than turning the arrival route into a scanning station.
Record a test someone else can repeat
An informal note is enough: image width, paper, holder, lighting, approximate distance, phone and result. Write Camera found link but page did not load separately from Camera found no link. Those are different failures. Use one version name for each artwork file so the printer and coordinator know which sample passed. The purpose is not laboratory precision; it is preventing a helpful last-minute edit from quietly replacing your working proof with an untested smaller version.
What to mark on the proof
- Mark the exact code image width, including its supplied border, and the additional clear space around it. Record whether the printer used actual size or a fit-to-page setting so another person can reproduce the result.
- Name the finish and holder used in the test. Plain paper without a cover is not the same object as the finished insert behind acrylic, even when both contain identical artwork.
- Write down the least convenient position that still worked comfortably. Do not approve a design solely because the newest phone recognised it once from directly above under bright kitchen lighting.
- Include a manual check of the written guest address and the event shown after opening it. A beautifully printed QR pattern can still lead to the wrong wedding if the wrong source was placed.
Separate recognition from loading and uploading
The printed square carries an address. Reading that address is only the first part of sharing. If the camera offers a link, the pattern has been recognised; if the browser then stalls, increasing the printed code will not improve the venue's connection. Test the full journey by opening the guest page and sending a small trial photo with permission from the host. Check that the submission completes rather than assuming a visible page proves uploading is available.
Recognition problem
Review size, contrast, focus, angle and glare. Use the readable address as a fallback while you investigate. If another phone scans the same print immediately, compare conditions rather than declaring the whole collection broken.
Connection problem
Try a known working connection or another venue position. Guests need internet access to load the page and upload; a printed QR code does not provide that connection. A later upload from home is a practical alternative.
Collection problem
Check the event destination and whether the collection is open and has capacity. A full allowance or a closed collection requires a host decision, not a new print dimension. Keep these checks on the setup list alongside the physical scan test.
Freeze the tested size before the final batch
Once a proof works, keep its code size, proportions and clear space unchanged. If a printer requests bleed or a designer adds another line of wording, move surrounding elements rather than squeezing the tested square. Candid Photos also provides four QR table stands per A4 sheet through the dashboard. Use a printed sample of that supplied layout if it suits your event; a bespoke design is optional, not a requirement for collecting guest photographs.
Choose the event plan independently of the artwork dimensions. Paid plans are one-off in USD: Gather is $19 with 200 photos, 30 videos, 5 GB, standard downloads and 1 month online; Celebrate is $39 with 750 photos, 100 videos, 20 GB, original-quality downloads and 3 months online; Keepsake is $69 with 2,000 photos, 300 videos, 50 GB and 6 months online. Retention runs from the event date. Preview provides a 7-day trial with 20 photos, no video, 10 contributors, 500 MB and no downloads. Print size does not increase capacity or keep the collection open longer.
Print-size questions with honest answers
Is there one smallest safe wedding QR size?
There is no universal measurement this guide can guarantee for your image, printer, phone and lighting. Start with physical samples and choose a size that works comfortably in realistic conditions, not merely one that succeeds once.
Will a bigger square fix a shiny sign?
It may help some scans, but it does not remove a reflection covering the pattern. Change the angle, finish or position and test again before using extra size as the only solution.
Can a code be too close to the phone?
Yes, a phone may struggle to focus when held very close. Move back slightly and keep the entire pattern in view; do not instruct guests to press the camera against the paper.
Do I need to test after professional printing?
Yes. The finished stock, ink, coating and scaling can differ from a home proof, so scan the produced object before distributing it. Keep a readable guest address as an alternative even after a successful test.
Build your proof around the real guest code
Create the collection first, use its actual QR image and print a small ladder of trial sizes. Choose the version that works from your guests' positions, then keep that tested geometry through the final stationery order.
QR code photo sharing
Put one link on the tables and let everyone contribute.
Create a collection, print the table stands, and the photographs your guests took are waiting for you the morning after. Guests never install anything and never make an account.